There are a few meals that I forget about which make wonderfully easy, delicious family-pleasing dinners. London Broil is one of them.
London Broil is actually not a cut of meat although I always see packages of beef listed as such. I believe it's a cooking process. Generally, I buy choice cuts that are labeled "London Broil" which are about 1 inch thick and a pound. It's more than enough for us and allows me to cook dinner up quickly having just enough leftovers to make a cheesesteak or two the next day.:) (I may do that for lunch tomorrow 🙂
I made this one tonight and it was devoured by both the husband and child. I LOVE it when that happens! Here's what I did...
Ingredients:
- About a pound of choice London Broil cut beef
- ½ teaspoon kosher salt
- ½ teaspoon fresh ground black pepper
- 1 teaspoon garlic powder
- 1 teaspoon onion powder
- ½ teaspoon chili powder
- ½ teaspoon ground cumin
Instructions:
Pull the defrosted London Broil out of the fridge an hour or two before dinner. A room temperature steak cooks better. Honestly, I pull mine out of the freezer in the morning and defrost it all day on the counter. By dinner time it's perfect. (Note: I realize some may disagree with this method for food safety reasons but it works for me.)
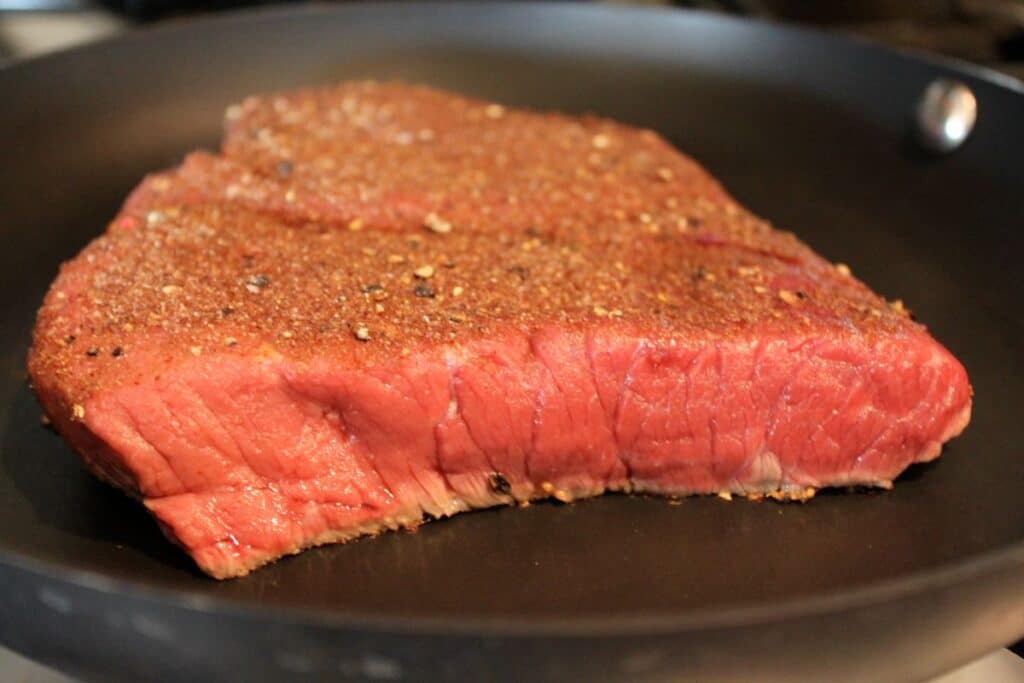
Make the dry rub by mixing all the dry spices together. Sprinkle the rub on both sides of the London broil using all of it.
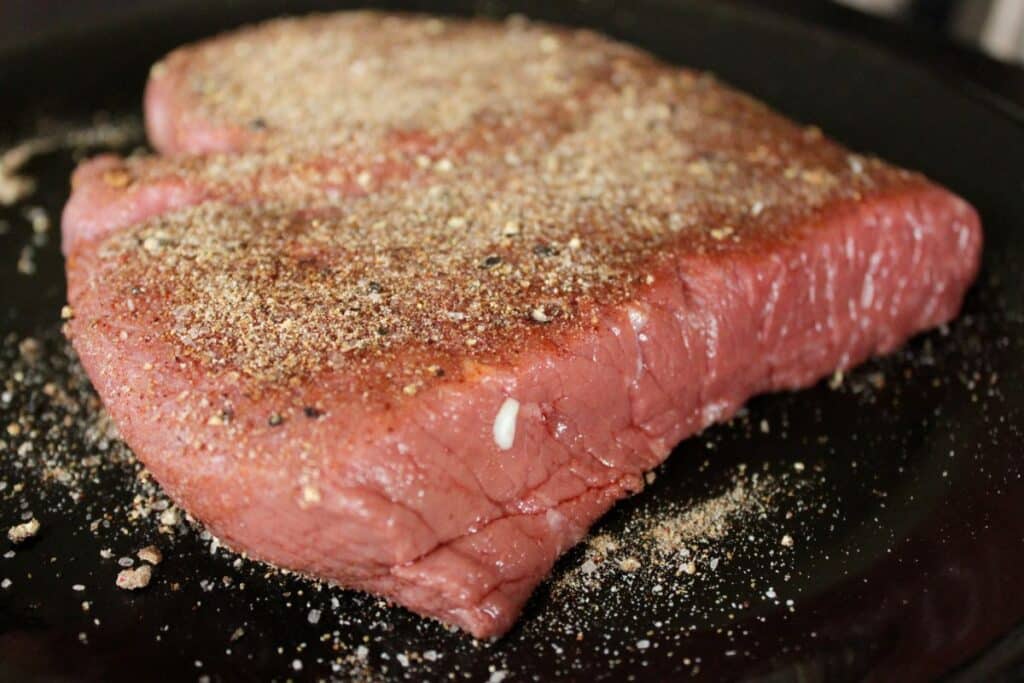
Heat a skillet over medium-high heat. Make sure it nice and hot and then add the steak.
Cook it for 4 minutes then flip.
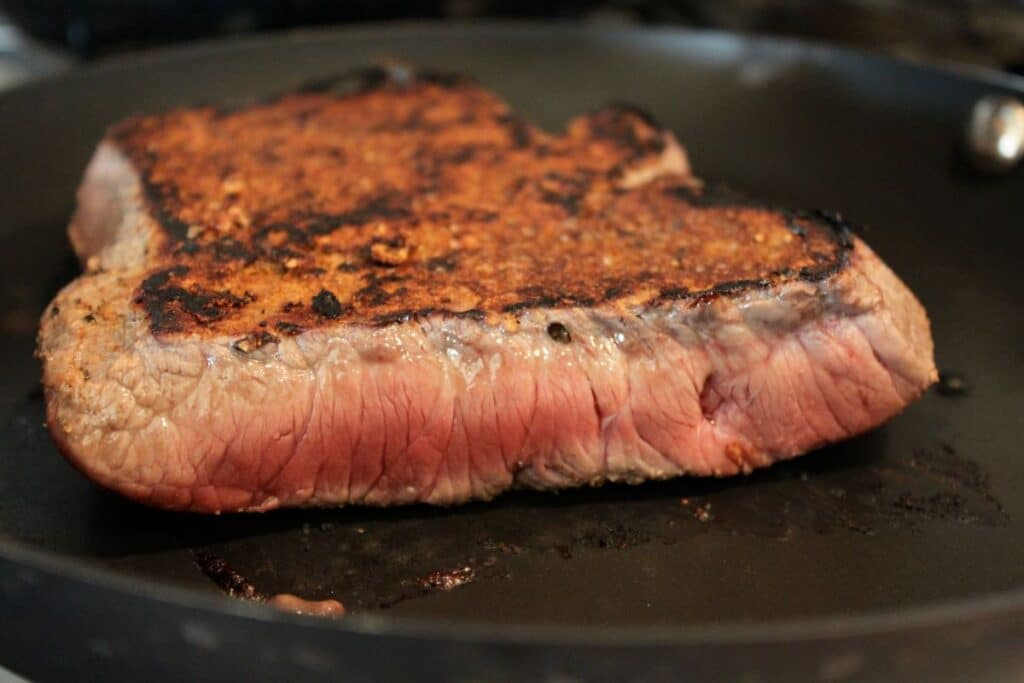
Cook for an additional 4 minutes. If your London broil is thicker than an inch you may want to transfer the meat to a preheated 350-degree oven to finish cooking. For my cut the 4 minutes per side was perfect.
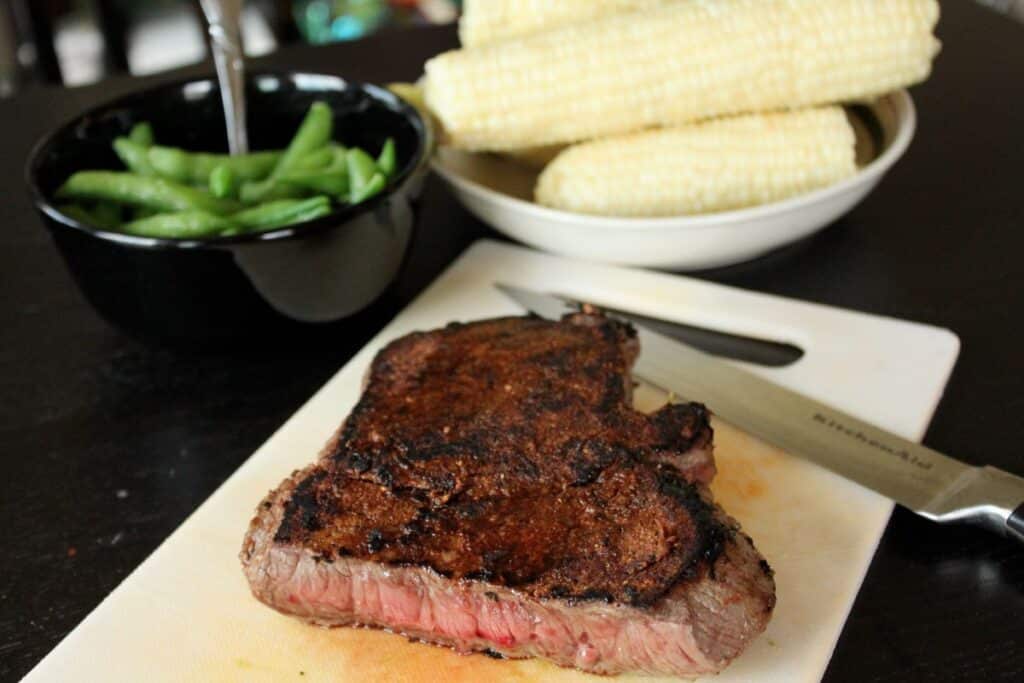
Remove from the skillet and let rest for at least 10 minutes! This is the hardest part, I know but think of it as part of the cooking process. The meat is still actually cooking during this time.
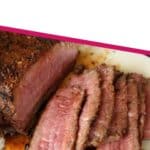
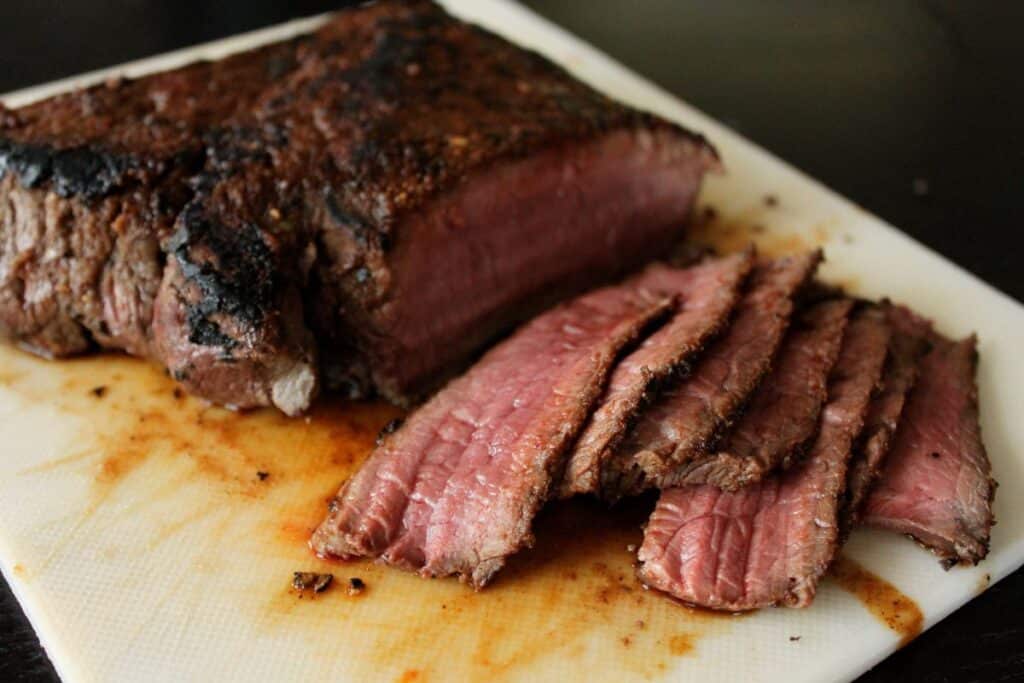
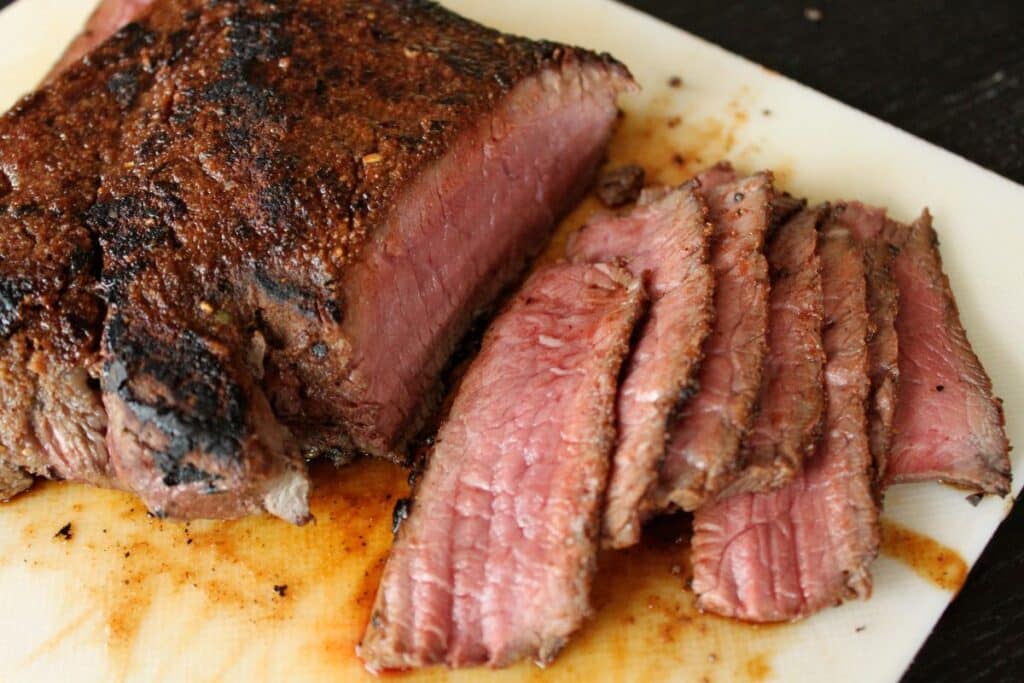
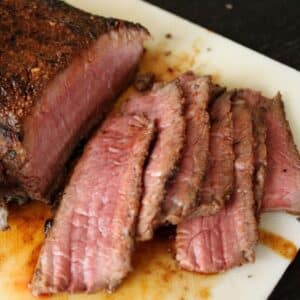
After 10 minutes cut the beef against the grain so that you can see lines up and down the cuts.
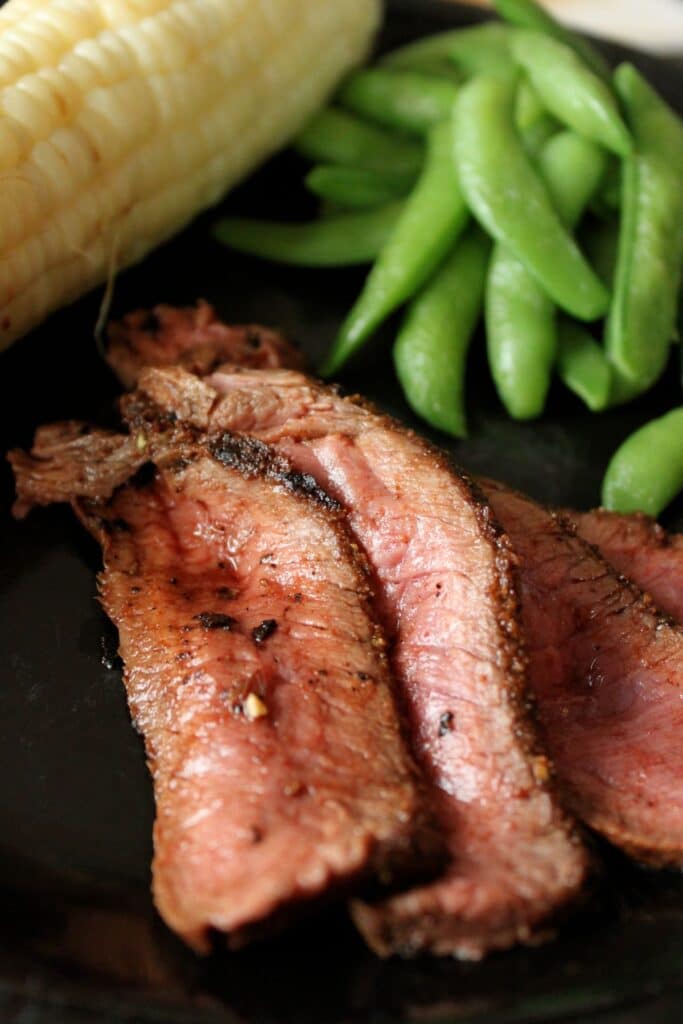
I served mine with the corn of the cob and sugar snap peas. It was a perfect summer meal!
📖 Recipe
Dry Rubbed Pan-Rubbed London Broil
Ingredients
- About a pound of choice London Broil cut beef
- ½ teaspoon kosher salt
- ½ teaspoon fresh ground black pepper
- 1 teaspoon garlic powder
- 1 teaspoon onion powder
- ½ teaspoon chili powder
- ½ teaspoon ground cumin
Instructions
- Pull the defrosted London Broil out of the fridge at least an hour or two before dinner. A room temperature steak cooks better.About a pound of choice London Broil cut beef
- Make the dry rub by mixing all the dry spices together.½ teaspoon kosher salt, ½ teaspoon fresh ground black pepper, 1 teaspoon garlic powder, 1 teaspoon onion powder, ½ teaspoon chili powder, ½ teaspoon ground cumin
- Sprinkle the rub on both sides of the London broil using all of it.
- Heat a skillet over medium-high heat. Make sure it nice and hot and then add the steak.
- Cook for 4 minutes then flip.
- Cook for an additional 4 minutes. If your London broil is thicker then an inch you may want to transfer the meat to a preheated 350-degree oven to finish cooking. For my cut the 4 minutes per side was perfect.
- Remove from the skillet and let rest for at least 10 minutes! This is the hardest part, I know but think of it as part of the cooking process. The meat is still actually cooking during this time.
- After 10 minutes cut the beef against the grain so that you can see lines up and down the cuts.
Notes
- You can grill this using the same technique.
- I usually defrost my steak the day-of on the counter. I know many will gawk at this but it works for and I've been doing it my entire adult-life as did my Mom. We haven't died yet.
- If you are worried about doneness use a thermometer. DO NOT CUT BEFORE 10-minute rest time!
- Servings will vary based on weight!
- If you are more interested in marinating a steak, check out my Smoked Citrus Skirt Steak.


Dee Rouse
I used a 2 pound, 1 inch thick, Chuck Shoulder London Broil and it was wonderfully tasty! ❤️
Although I like marinades sometimes I tire of the acidity they usually have.
Rene
Looks great! I think I have made London Broil once. I will have to pick up some and make again. Thanks for the easy recipe.
Dee Rouse
Is a Chuck Shoulder London Broil a good cut for this recipe?
Meghan
I made this the other night and it was INCREDIBLE! Definitely a new menu item in our household. Thank you! I also wrote about it on my blog and linked to you.
V
I made this last night on a whim. I never prepared London broil like this and it turned out great!! My family loved it and it was soooo easy. A keeper for sure!
Natasha
I tried it this past weekend, and it turned out perfect! Thank you!!
Donna
My mother always thawed on the counter and all us 8 kids never got sick. I do as mom did 🙂
Brenda
Thanks for responding Roni. I cooked it just like you said and it looked delicious just like yours. I also cut it against the grain. Must have been my meat. I will try this again. Thanks!
roni
Hi Brenda! A few things on toughness: The cut of meat can play a big role as well as cooking time and the way you slice it.
Make sure you cut against the grain. See in the photos above how you can see the lines in the slices, that's against the grain. Make a HUGE difference. Also try not to cook it past medium rare.
Hope that helps!
Brenda
I made this today but my meat was tough 🙁 The flavor was good though.
Joline
Roni, thank you for dinner tonight! we were scrounging around for dinner because neither of us wanted to go to the store and we didn't really want to cook either. This was perfect because we had tenderloin in the freezer! I served it with https://greenlitebites.com/2011/02/17/warm-cabbage-salad-with-carrots-and-thyme/ because I had the ingredients for it in the house as well. At least, I had thought I did. When it came time to add the thyme I found out we didn't have any 🙁 but my husband, being like you and very creative and knowing the types of things that go well together, added caraway seed and rosemary to it. I accidentally used twice as much of the apple cider vinegar as was called for, but it turned out okay. I also made my own bacon bits again out of maple bacon I had in the freezer. I also might have gone a litte overboard with the pepper as well since there wasn't a measurement for it. /shrug oh well tasted good anyway.
All in all, dinner was WONDERFUL! and my husband wants me to definitely put the cabbage in the "make again" pile! Thank you so much!
roni
I do do it when I'm home but the water is a great idea! For me nothing ever really defrosted in 2-3 hours.. More like 4-5.
As for ground meat in the microwave.. I haven't found that perfect setting that doesn't start cooking the edges but I do use it in a pinch.
I'm not recommending anyone follow my lead. Only sharing what I do and what works for me and my family.
RG
Well, you wouldn't do that now that you're at home, right? 2-3 hours, sure, but all day? What about thawing it in water instead? I think what's scary is that the surface of the meat will warm up to room temp while the inner portion is still frozen. Thawing in water would slow down that issue.
As far as frozen ground beef, isn't it fast enough to do a quick microwave defrost?
roni
LOL I've down that too (frozen ground beef) hey.. you do what works... right? 🙂
Jessica
Member of the Countertop Thawing Club! Especially if it is to be used the same day! And I brown my ground beef from frozen!! (gasp!! NO!!)
I have some round steak, lurking...I'm gonna give this a shot. I'm feeling some "Cantina Tacos" with the leftovers! (thanks Taco Bell commercials!;p )
Michelle @ Turning Over a New Leaf
Very nice! I plan on making something similar to this tonight! (porcini mushroom encrusted pan-seared ribeye!)
Nikki
Just to let you know, my hubby, who works in the food industry (he now works in can goods, but used to work in fresh meat) thaws meat on the counter and always laughs at me when I insist on thawing in the microwave or fridge.
Krista S.
I love this cut of meat and make it about twice a month on the grill in the summer time and I've even cubed it up and used a meat marinade/tenderizer and then shishkabobbed it with veg.
Rhea (Greek Feaster)
Whoa, this one will be a winner with ALL of my boyfriends!
Who am I kidding. I will eat a pound of this alone, in bed. Love the dry rub recipe!
roni
I rarely cook it too. Maybe 2-3 times a months. I think it makes it that much better. 🙂
shandy (@webgals)
That looks sooo darn tasty. I never cook beef, but when I see meals like that I really want it.
roni
Don't worry.. I'll make one tomorrow and post it. 🙂 I'm thinking.. Cheese steak wraps with pepper and onions!! 🙂
Paula
Looks awesome! Although I'd also like to know about that cheese steak! What do you make it with?
roni
I know.. it's weird. I'm not sure how "london Broil" came about but here's some info.... http://bbq.about.com/od/steaks/a/aa101604a.htm
Laura
Wow, does that ever look delicious! I've never heard of a "London Broil" cut here in Canada. I think they call it a flank steak up here, but I could be wrong. Regardless, yummy!