

Three years ago I posted a video called "Makin' Hard Boiled Eggs" where I shared my system for, well... making hard boiled eggs. Genius name, I know. I'm smart like that.
Anyway, since then I've gotten tons of feedback and comments thanking me but all the information is locked in a long winded 10 minute video so I don't link to it often.
Today I'm here to remedy that and share the written version for quick reference.
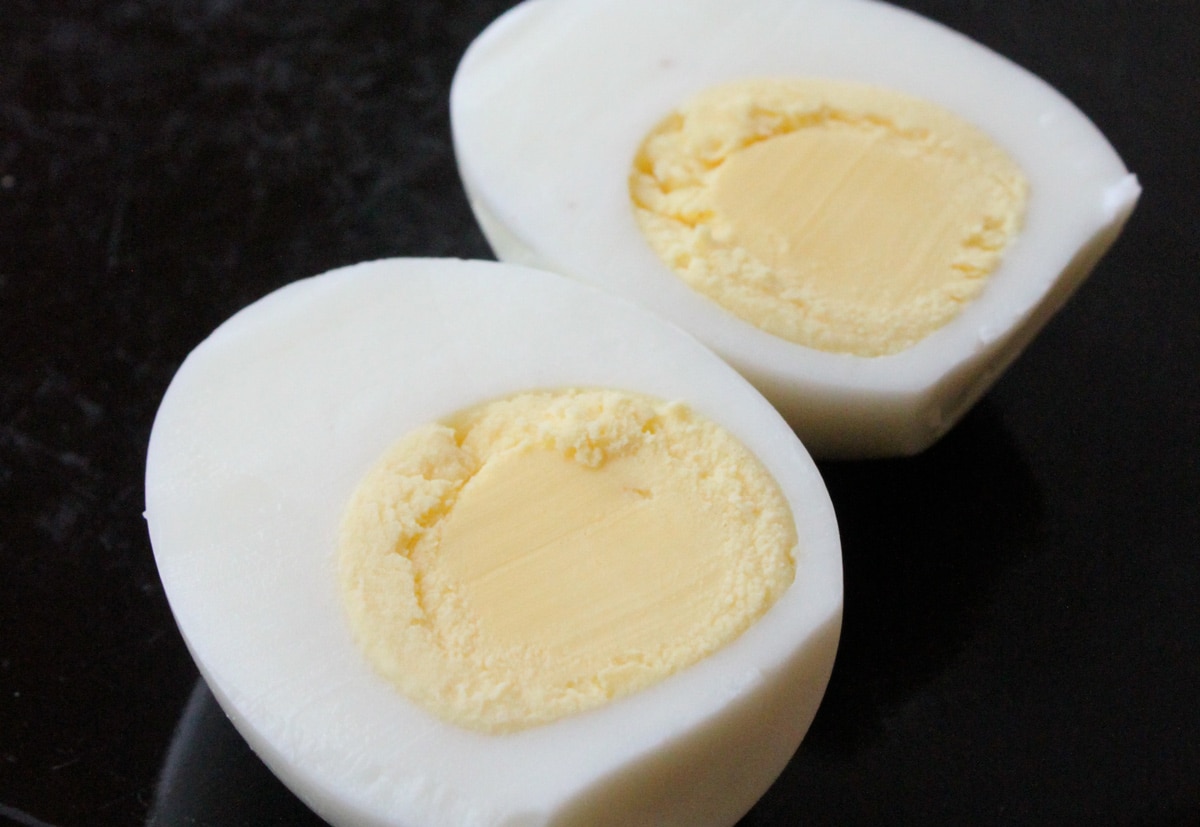
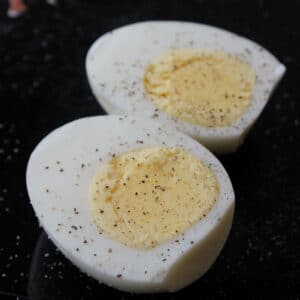
Here's my technique for perfectly done, easy to peel, hard boiled eggs.
Instructions
- Bring a pot (large enough to fit the number of eggs you want to cook without crowding) of water to a boil.
- Lower the eggs into the boiling water carefully.
- Set a timer for 13-15 minutes based on your taste. Now I find 13 minutes the perfect time for "just done" yolks, but if you are worried about under-doneness go with 15 to start and then adjust to find your perfect time.
- While eggs are cooking fill a large bowl with ice and water to make an ice bath.
- Once time is up, remove the eggs from the pot and place in the ice bath.
That's it! Let them sit in the water until they cool and then transfer to the refrigerator until ready to eat.
If you have 10 minute to spare click here to watch the video. A lot has changed since then. I had long hair, I'm in my old house and, "the Toddler" although not in the video, was my only child. We also now go through 2 dozen eggs a week not 1, and I buy better quality eggs that rarely crack.
WOW. It's amazing what can change in 3 years!
Now… on to my good news!
Well, actually I have two fun things to share.
- I was nominated for FitnessMagazine.com's Best Healthy Eating Blog. Very exciting! I would be honored.
- I received the best message today from Amy of A Little Nosh.
How awesome is that?! Totally makes my day!
Ok, back to our regularly scheduled programming. I'm trying to work out a schedule so I can record a roasted chicken video. I have a new, fun, tasty approach that baby, kid and husband all went gaga for!
📖 Recipe
5 Steps to a Perfect Hard Boiled Egg +Fun News
Ingredients
Instructions
- Bring a pot (large enough to fit the number of eggs you want to cook without crowding) of water to a boil.
- Lower the eggs into the boiling water carefully.eggs
- Set a timer for 13-15 minutes based on your taste. Now I find 13 minutes the perfect time for "just done" yolks, but if you are worried about under-doneness go with 15 to start and then adjust to find your perfect time.
- While eggs are cooking fill a large bowl with ice and water to make an ice bath.
- Once time is up, remove the eggs from the pot and place in the ice bath.


Kelly
Doesn't your fridge stink with the hardboiled eggs in there?
roni
Not really. I keep a small box of baking soda in there and I don't peel them until they are ready to eat.
Lori L.
This is my 'go-to' method for boiling eggs. It is the best! Perfect eggs every time! Thank you!
Gracie
I just discovered in the last year that adding the eggs to boiling water keeps the "green" away -- I never realized you'd already posted something like that. Could've saved me having to learn on my own! 🙂 I will second the "older eggs" motion. Eggs that are at LEAST a week old before boiling are way easier to peel afterward. And I keep eggs on a 3-week rotation -- I buy a carton every week but have two cartons already in the fridge when I buy it and use them in order. I figure that in addition to the eggs being easier peelers by the time I boil them, I'm also safeguarding my family against any threats of salmonella (since we use eggs for lots of other things besides boiling) -- because if a batch is contaminated, odds are lots of other folks who buy eggs as they need them will get sick and report it and it will be on the news before I've even opened that carton, and I can just pitch it! 🙂
Carley
OMG THANK YOU! I haven't been able to peel my hard boiled for eggs for years!! These are literally perfect.
Maggie
Will try it this weekend! I always struggle to peel eggs without shredding them. I haven't had trouble with the green ring, so I don't overcook them. Hopefully the fast cool in the ice water bath will do the trick to help with peeling. Thanks!
BTW, I love your blog! I've lurked here for a while and so enjoy hearing your "voice" in your posts. Very well done!
Cassandra Bishop
I bought a cheap carton of eggs once when I was in a real hurry and so many of them cracked when I boiled them! Never again will I buy cheap eggs, only quality from here on out!
roni
You are the second person to tell me that but I just pinned without a problem...
http://pinterest.com/pin/75224256245941953/
The only thing I can think of is that the page may not have been fully loaded yet. DId you get an error?
Marla
Not sure why but I'm having a problem pinning things from greenlitebites. This is the only site I've had the issue with. Any ideas why?
Jill
Omg...that's EXACTLY how I do ours! And, seriously, there are SO many ways out there. My bf had a serious problem with peeling eggs that wouldn't peel. I searched/experimented and this is what I came up with! We do try to use 'older' eggs which I've heard helps with the peeling.
roni
SO funny. I never peel them right away!
Veronica
For me, it seems that the key to non-green yolks, besides the cold water bath at the end, is peeling them right away. I know you don't and the green doesn't happen but with the way I do it, I have to peel them and store them in a little tub already peeled, otherwise the yolks will turn green. Weird, right? lol You're welcome!
roni
Veronica - That's how my mom did it I think but when I put them in non-boiling water I always get green yolks. I leave them in too long, I guess, but you are right, it's the cold water at the end that makes for easy peeling. The cooking part for me is about getting the yolk the consistency I want.
Thanks for the vote!! 🙂
Veronica
I remember that video and used to follow it! LOL, I got lazy and now I just put the eggs in at the same time as the water, and just drain and run cold water over the eggs in the pan when they're done, making sure to change it often until the eggs are cold. It works too. 🙂 I was jazzed to see that comment from Amy b/c I JUST posted a recipe from her blog for The Secret Recipe Club--kinda fun to see a blog I'm familiar with on another blog I follow. The circle of blogs. 🙂 I'll go vote for you now!
Tracy aka mytinytank.net
This is the BEST WAY. I actually posted this video Sunday to
my Facebook page. I too had the same question about leaving the water boiling.
The shells slide off!!! I make eggs everyday week and you have simplified my life.
You Rock Roni!!!!
Laura Jane @ Recovering Chocoholic
That egg boiling video changed my life! I seriously couldn't not manage to boil an egg without getting that green stuff around the yolk. Your method works perfectly every time!
roni
Around a week. You'll know when an egg goes bad.. believe me. lol
Rose
how long do they last after being boiled?
roni
oh no that's a great question! I continue to boil. I do not remove from heat until the timer goes off.
Sabrina
Do you continue to boil or just let the eggs set in the hot water for that long? I know the question sounds a little nuts, but I have heard of different people doing that.
Krista S.
This is the ONLY way I can make hard cooked eggs come out of their shells. I've been using your method since you very first posted that video and although I adjust the cooking time depending on how I want the yolk, it has never failed to turn out PERFECT eggs that are a cinch to peel and they never have that ugly green ring around the yolk. LOVE this method!
Amy @ A Little Nosh
It's a great thing that you turned me on to kale because I've heard that my CSA is a little heavy on the kale in the beginning. Can't wait! Gonna try kale in some eggs tonight.
Karen@WaistingTime
This makes me laugh because we have an egg cooker:) We actually used to use it a lot and keep hard boiled eggs in the fridge all the time. Before he went to college my teen would even snack on them. I only at the whites because of my cholesterol. Now that my husband is sort of going vegan, we don't make them anymore. But it was so easy to have it done for us with that little gadget:)